Art activities
 Activity #1
My Approaches to Drawing
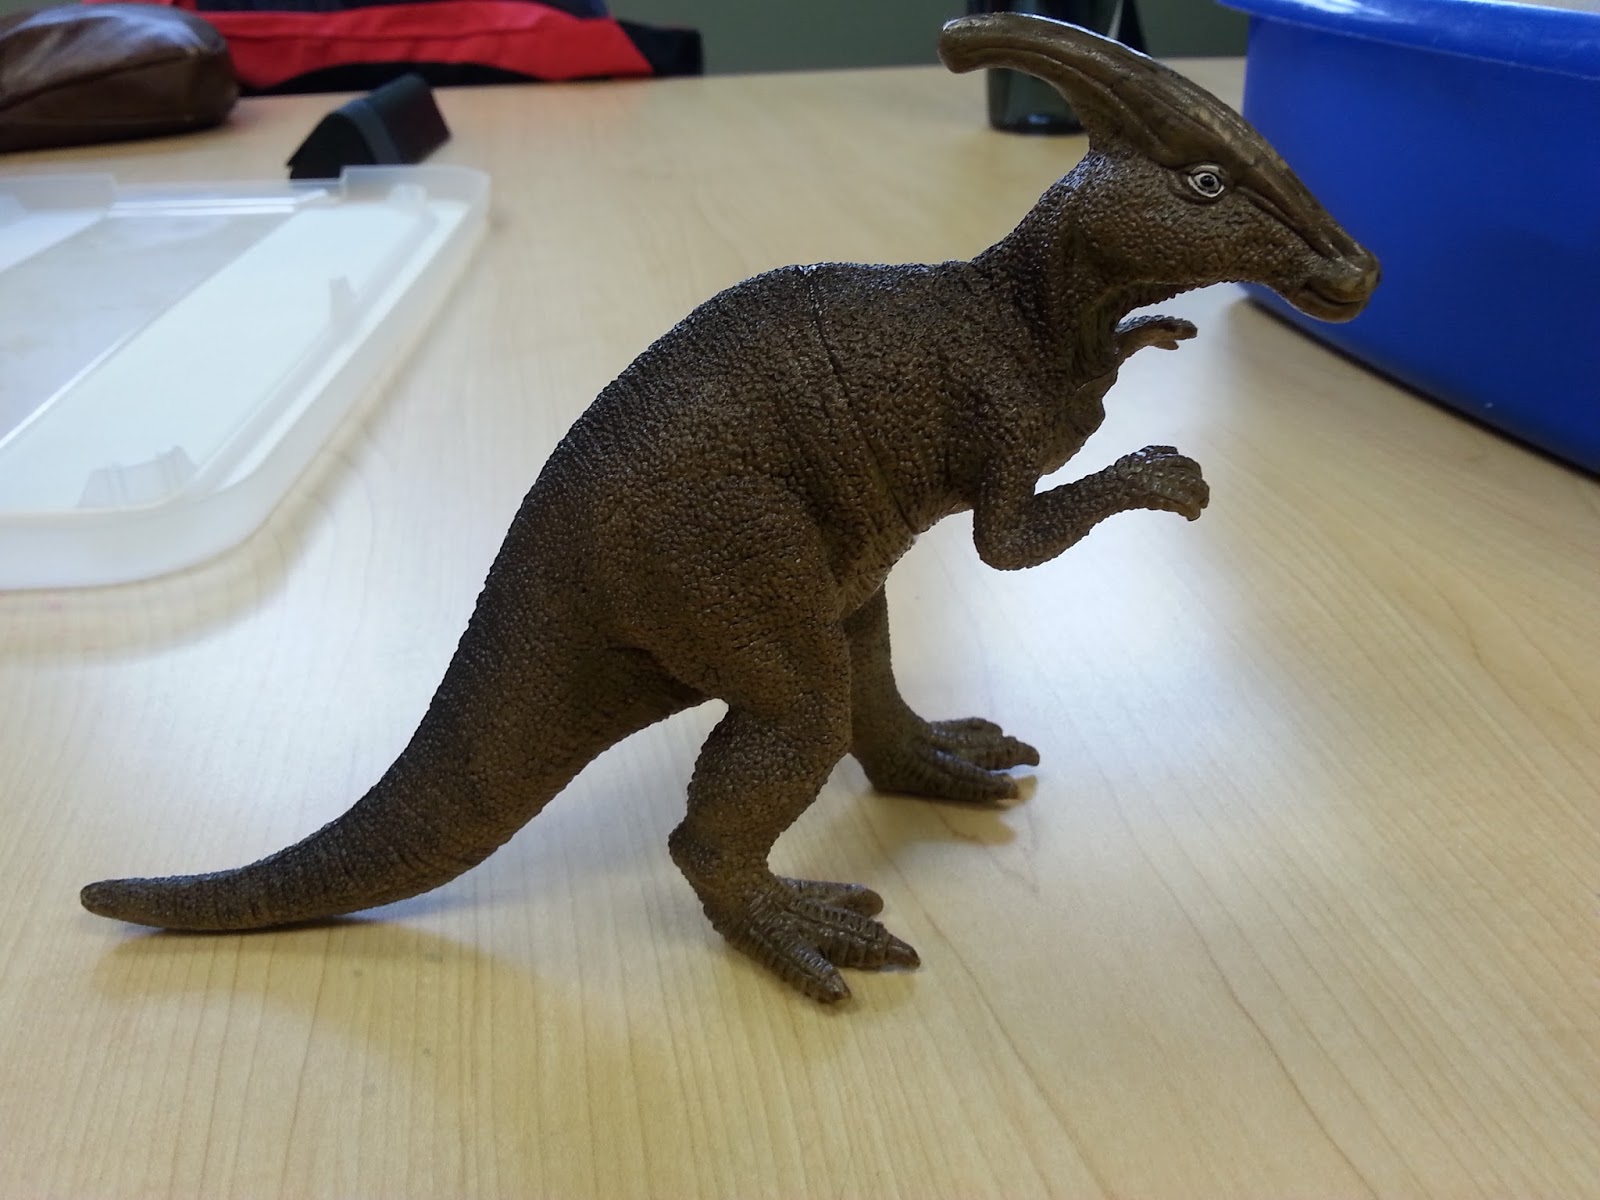
Give the students an object that they are able to trace. You could use basically anything fun for this. I used a dinosaur toy.
 It would be helpful to give the students pre-made booklets so they can easily just go ahead and draw.

This is called a Pre-Instruction Sketch. This will be the first drawing that students will do. It has no instruction for students, but they must draw their object and get as much done as they can in only 7 minutes.
 Activity #1
My Approaches to Drawing
Give the students an object that they are able to trace. You could use basically anything fun for this. I used a dinosaur toy.


This is called a Pre-Instruction Sketch. This will be the first drawing that students will do. It has no instruction for students, but they must draw their object and get as much done as they can in only 7 minutes.

This is called Scribble Drawing. In this drawing students must draw their object only scribbling. The students must not take their pencil off of their page.

This is called Shape Drawing. In this drawing the students must draw their object only using different shapes. For example, I used an oval to draw the body of my dinosaur.

This is called Negative Space drawing. The students will draw the outline of their object and then colour in the outer space creating negative space.

The is called a Texture drawing. In this drawing, students will use lines to create texture within their object. I used dots and lines.
 |

Have the students write a reflection after they first draw their pre-instruction drawing. The reflection includes strengths and weaknesses about their drawing as well as the next steps they will take to reach their goals.

Activity #2
How's Your Heart?
Students choose analogous colours and draw a picture of their heart. Each colour of the heart represents a different feeling. Have the students write a reflection on why they chose the colours they did, why they shaped their heart the way they did, why some areas appear lighter and some darker..etc.


Activity #3
Blind Contour Drawing
Have the students look at on object in the classroom. I chose to use my hand for this activity. Have the students draw their hand, only looking at their hand and not looking at their paper. Do it for 1 minute the first time, 1 minute the second time but change view of object, and two minutes for the third time. Have students reflect on their drawing afterwards.

Activity #4
Line Drawing
Students will have 3 different colours and white on a colour palette. They will be instructed to make lines that have 6 different colours visible in their line pattern. Students can construct their lines however they like.


Your very own Picasso!
The teacher could show these example pieces. You could also divide groups up and assign each group to talk about one of these categories: eyes, hair, nose, colour, shape...etc. The activity to follow is shown below.


Instructions for your students:
1.) Draw an organic shape to represent the head
2.) Start drawing the nose from the top of the head and finish it in the middle of the page
3.) Draw in the eyes
4.) Draw the lips
5.) Draw the hair
6.) Add in any other features necessary, example, beauty marks, eyebrows, etc.
7.) Colour in the drawing with primary colours using oil pastels and try to blend the colours
8.) Name your drawing what you think fits best. Be creative! Have the students write the name as they imagine their drawing would sign it.
Activity #6
Paper Sculpture Masks!


When doing this activity, have each student bring in a coloured bristol board. The students will cut their bristol board in half and contribute the rest of the pieces to the rest of the class so there are many colours to choose from. These are the anchor charts you could include in the classroom for students to follow.
When students are making their mask they have to include slot and tab, fringing, scoring, and a symmetrical piece at least once.


These are a few examples of masks that you can show your students. Another task you could have your students do is incorporate a pattern on their mask somewhere just as the examples show.


These are two resources you could use when teaching this activity in case you were in need of a reference.


Step 1: If the students are having trouble starting their mask, have them draw a sketch on what they want it to look like. To create the face shape of the mask, have the students cut slits on each corner so that it is able to fold into a shape. Staple it together.

 Step 2: The students can start with any face object they like. I started with making my symmetrical face mask for the eyes. I also incorporated fringing through the eyelashes. Next I made the nose and mouth. I used slot and tab in order for the lips and mask to pop out like that.

Step 3: I added in the eyes behind the mask. I also added in teeth and put a piece of gunk in the teeth. To make a finished product, I added in hair and eyebrows. The eyebrows incorporated scoring. The pattern that I created was on the cheeks as well as on the mask.
Fun Art books


These are a few books that you could use either to introduce an art lesson or simply make art cross curricular with language arts.


No comments:
Post a Comment